Commercial presence-tracking systems cost hundreds of dollars per room, lock you into a vendor’s cloud, and stop working the moment your internet goes down. For a home automation setup that needs to know whether someone is in the living room or the garage, that dependency is absurd. The entire sensing layer — a BLE beacon and a receiver — fits on two $12 microcontrollers. The cloud adds nothing except a point of failure and a subscription fee.
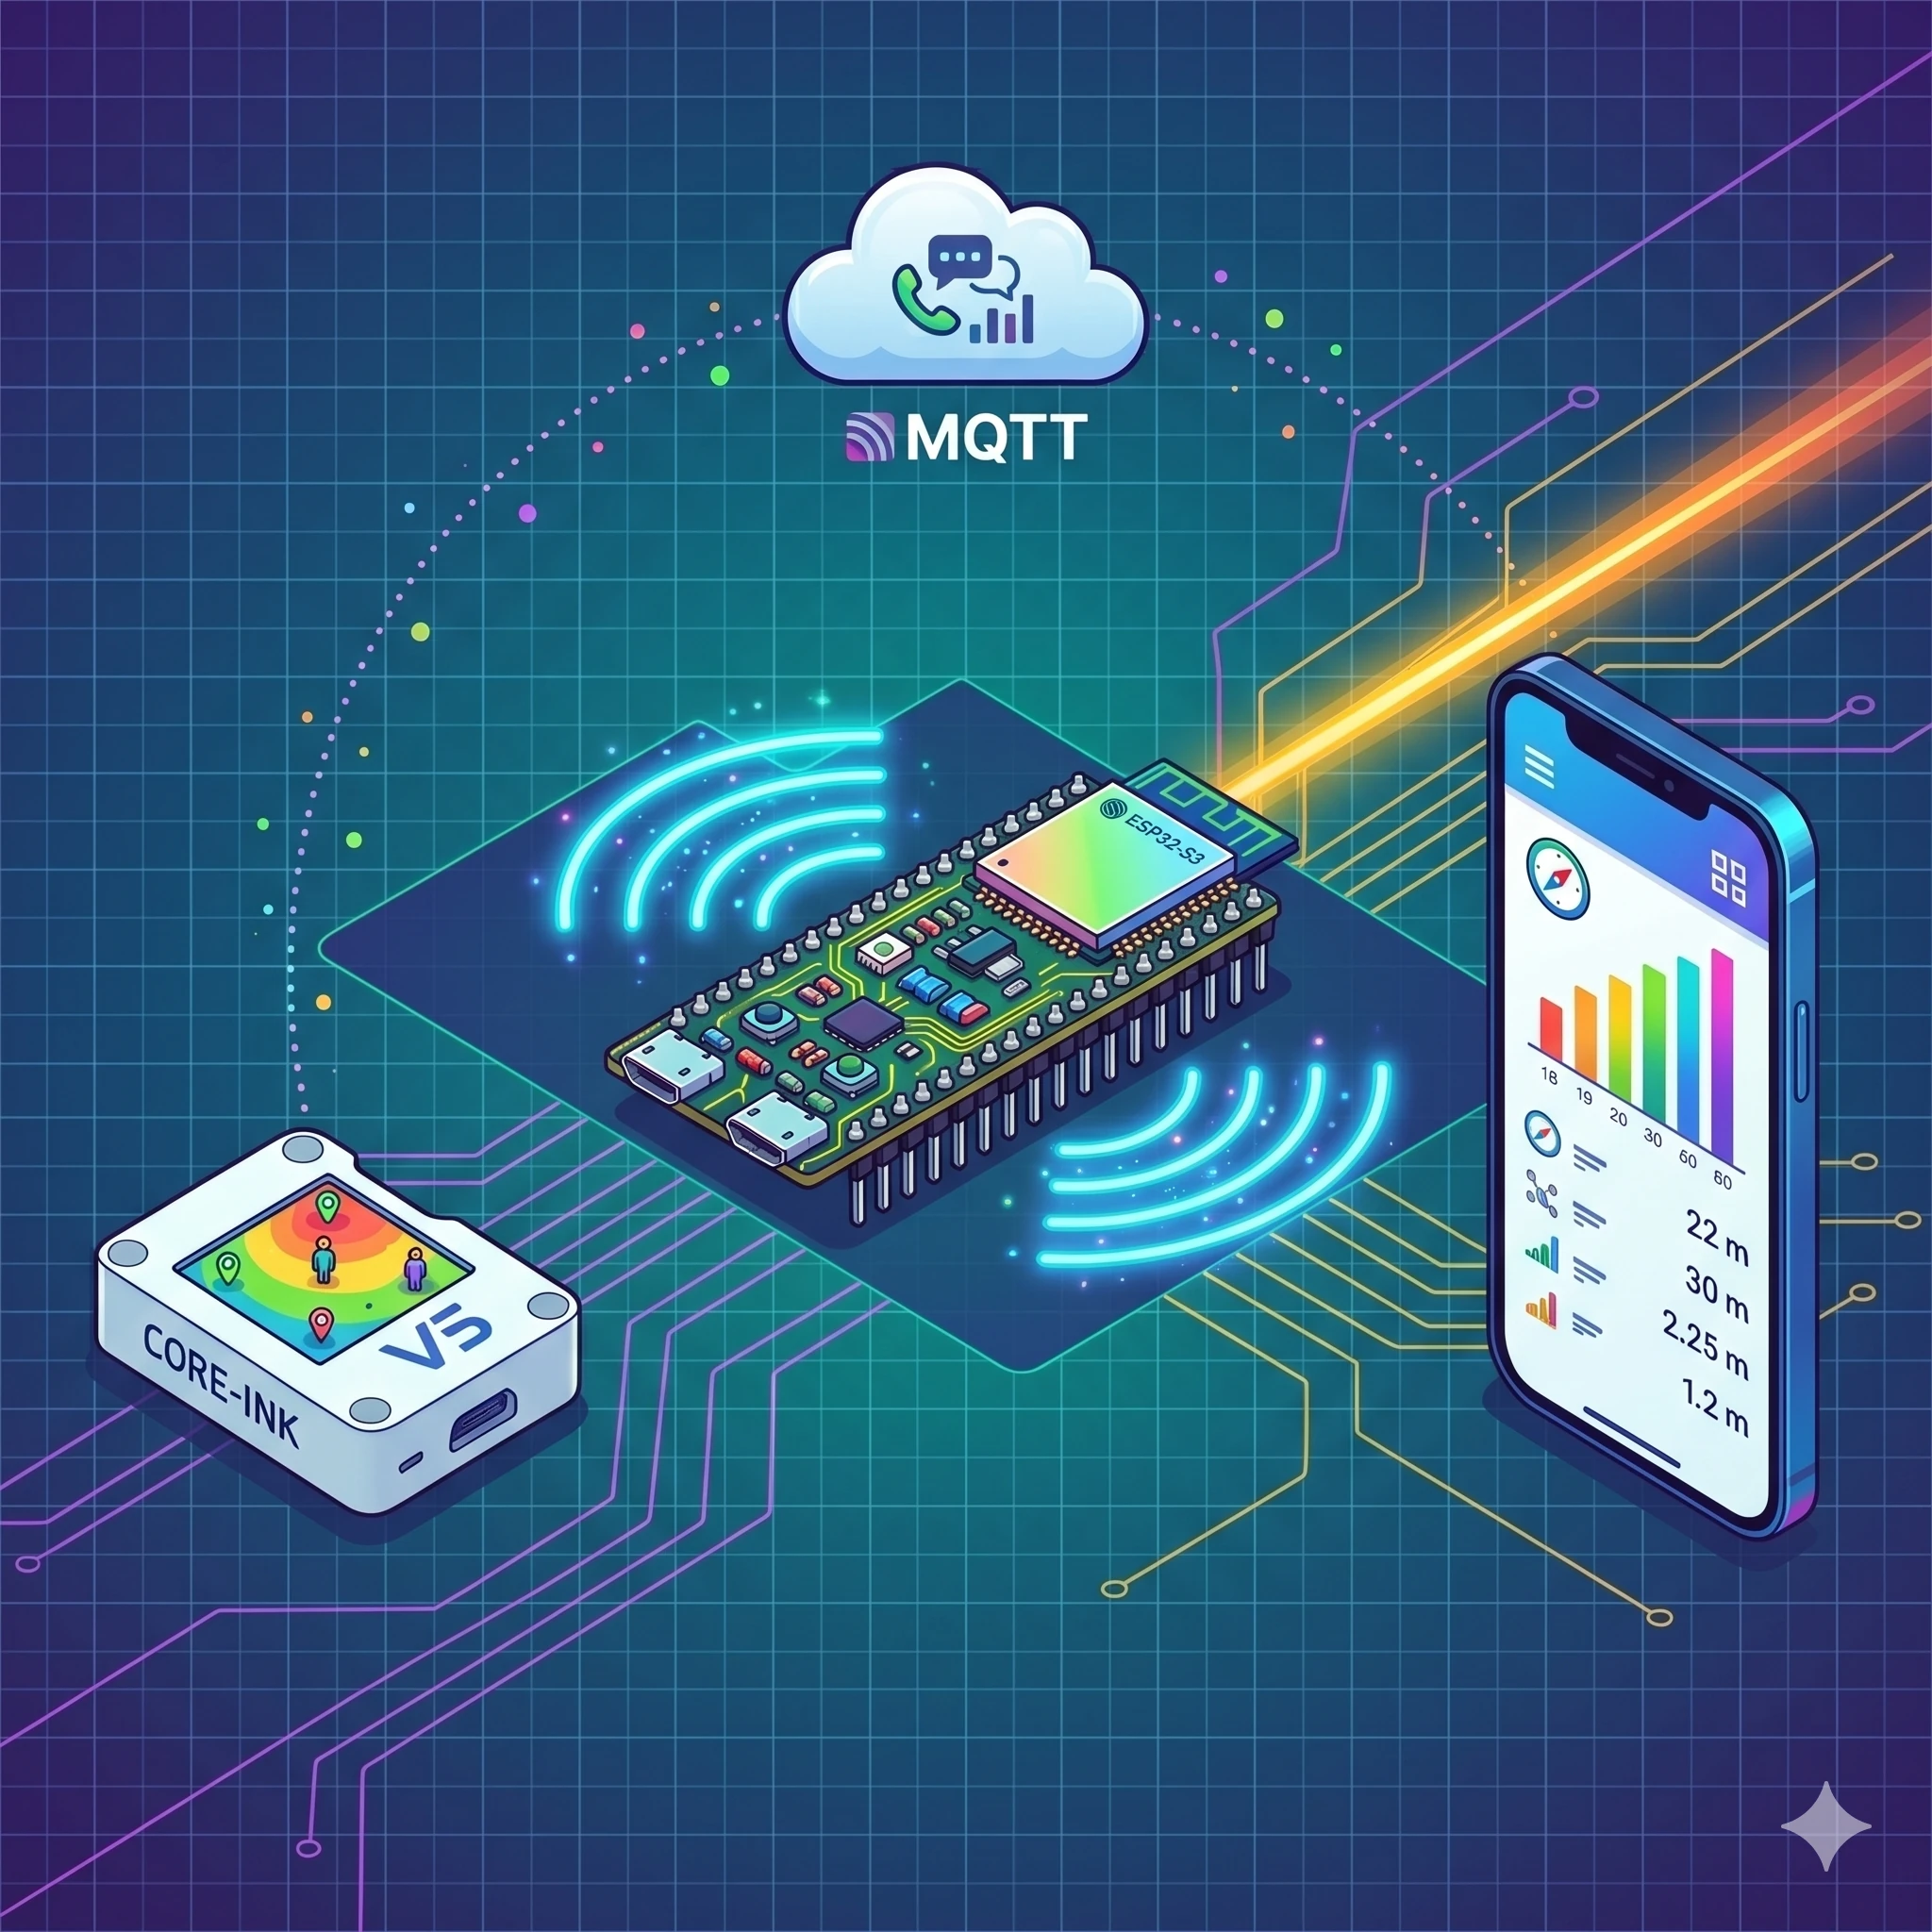
BLE.KZ is a complete, open-source ESP32 BLE presence tracker ecosystem built on ESPHome. Two firmware configurations — a beacon node and a presence tracker with an e-ink display — plus a cross-platform Flutter companion app and a Python CLI monitor. No cloud, no internet, no vendor lock-in. In this article I walk through the architecture, the two beacon protocols it implements, the custom e-ink driver, the Flutter app with its seven communication channels, and how to get the whole stack running from scratch.
- Why local first presence tracking
- Architecture three layers
- BLE Beacon Node (ESP32-S3)
- CoreInk Presence Tracker (M5Stack CoreInk)
- Flutter Companion App
- Two Beacon Protocols in One Codebase
- Minew MBM03 Emulation
- BTHome v2 + iBeacon Dual Advertising
- Presence Tracking Engine
- NUS Console: 16 Interactive BLE Commands
- Eink display driver
- Flutter Companion App: Seven Communication Channels
- Five Screens
- Hardware: What You Need
- Three Deployment Configurations
- 1. Beacon Only (ble-node-beacon-min.yaml)
- 2. Beacon + Tracker (ble-node-standalone.yaml)
- 3. CoreInk Presence Tracker (coreink-presence.yaml)
- Python CLI Monitor
- Quick Start: From Zero to Tracking in 15 Minutes
- Home Assistant Integration
- Security Model
- License and Commercial Use
- Frequently Asked Questions
- Do I need both devices, or can I start with just one?
- How accurate is the distance estimation?
- Does it work with ESPresense?
- Can I track multiple devices simultaneously?
- What is the battery life on the CoreInk?
- Why ESPHome instead of Arduino or ESP-IDF directly?
- Related Projects
- Source Code and Documentation
- Need a consultation?
Why local first presence tracking
Most presence-detection solutions in the Home Assistant ecosystem rely on ESPresense or room-assistant nodes that forward BLE data to an MQTT broker, which then feeds into a cloud-connected automation engine. That works — until the router reboots, the MQTT broker crashes, or the cloud service deprecates an API. Each additional dependency is another failure mode.
BLE.KZ takes a different approach. Every node operates as an autonomous WiFi access point. The presence tracker runs its own web server, processes RSSI data locally, and displays results on an e-ink screen — all without a single packet leaving the local network. MQTT and Home Assistant integration exist as optional layers, not requirements. The system works in a basement with no internet the same way it works in a fully wired smart home.
Privacy is the other reason. BLE presence data — who is in which room, when they arrived, when they left — is exactly the kind of information that should never leave your premises. Local processing means there is no telemetry endpoint to worry about, no third-party data processor to audit, no GDPR consent form to maintain.
Architecture three layers
The system consists of three layers that can be deployed independently or together.
BLE Beacon Node (ESP32-S3)
An ESP32-S3-DevKitC-1 (N16R8 variant: 16 MB flash, 8 MB PSRAM) running ESPHome firmware. It broadcasts BLE beacon frames — either Minew MBM03 or iBeacon format — and optionally scans for a target device to track its presence. The node runs a web server with a full control UI, exposes all parameters via HTTP REST, and can operate in standalone WiFi AP mode with zero external dependencies.
CoreInk Presence Tracker (M5Stack CoreInk)
An M5Stack CoreInk — ESP32 with a 1.54-inch 200×200 e-ink display, SHT3xD temperature/humidity sensor, QMP6988 barometric pressure sensor, battery, and RTTTL buzzer. This node does the heavy lifting: 94% BLE scan duty cycle, RSSI-based distance estimation, zone classification, environmental monitoring, and a 16-command interactive BLE console via Nordic UART Service (NUS). It also broadcasts its own BTHome v2 + iBeacon dual beacon frames with live sensor data, so Home Assistant discovers it automatically.
Flutter Companion App
A cross-platform mobile app (iOS and Android) built with Flutter and Riverpod. It connects to both nodes simultaneously via seven different communication channels — SSE, HTTP REST, MQTT, BLE passive scan, BLE GATT, NUS console, and mDNS discovery — and provides real-time dashboards, configuration panels, a BLE scanner, and an interactive NUS terminal. The app itself can also act as a BLE iBeacon via an Android platform channel, turning your phone into a trackable presence source.
Two Beacon Protocols in One Codebase
BLE.KZ implements two distinct beacon protocols, each serving a different integration target.
Minew MBM03 Emulation
The BLE beacon node emulates a Minew MBM03 commercial beacon down to the GATT service level. It alternates two advertising frames every 3 seconds:
- Frame A — DeviceInfo (Minew manufacturer ID 0x0639): hardware revision, firmware version, battery level, temperature, device name, and MAC address packed into manufacturer-specific data
- Frame B — iBeacon (Apple manufacturer ID 0x004C): standard proximity UUID, major/minor values, and measured power for distance estimation
The emulation includes a full GATT server with two services: Device Information (0x180A) with six characteristics, and the Minew proprietary service (0xFFF0) with write and notify characteristics. This means the node is compatible with the BeaconSET+ mobile app — you can configure UUID, major, minor, TX power, advertising interval, and device name over BLE, protected by a configurable password. The implementation spans 701 lines of C++ in minew_beacon.h, handling 13 command codes for the full BeaconSET+ protocol.
BTHome v2 + iBeacon Dual Advertising
The CoreInk presence tracker uses a different strategy. Instead of emulating a commercial beacon, it broadcasts two standards-based frames:
- Frame A — BTHome v2 (UUID 0xFCD2): temperature (int16, 0.01 C resolution), humidity (uint16, 0.01%), barometric pressure (uint24, 0.01 hPa), and Unix timestamp (uint48). Home Assistant discovers these automatically through the BTHome integration — no configuration needed
- Frame B — iBeacon with the same UUID as the Minew beacon, ensuring compatibility with ESPresense and other iBeacon-based trackers running elsewhere in the house
Both frames are rebuilt dynamically on every sensor reading, so the advertised data always reflects the current state. The dual-beacon implementation is 274 lines of C++ in coreink_ble_adv.h.
Presence Tracking Engine
The CoreInk node runs a BLE scanner at 94% duty cycle — 300 ms scan window within a 320 ms interval. This is close to the theoretical maximum for an ESP32 while still leaving CPU time for display updates and sensor reads.
Distance estimation uses the free-space path loss model:
d = 10 ^ ((P_measured - RSSI) / (10 * N))Where P_measured is the calibrated RSSI at 1 meter (typically -59 dBm), RSSI is the live reading, and N is the path loss exponent (2.0 for open space, up to 3.5 for environments with walls and furniture). All three parameters are configurable at runtime through the web UI, the Flutter app, or the NUS console.
The tracker classifies the target device into presence zones based on calculated distance and reports appear/disappear events with configurable timeout (5 seconds default). Signal quality estimation filters out multipath reflections and interference. Raw RSSI, filtered distance, zone assignment, and advertisement count are all exposed as ESPHome sensors, available via the web server and through Home Assistant’s native API.
NUS Console: 16 Interactive BLE Commands
The CoreInk presence tracker exposes a Nordic UART Service (NUS) over BLE — a serial-like console you can connect to from any BLE terminal app or from the Flutter companion app. Sixteen commands cover everything from diagnostics to configuration:
| Command | Response |
|---|---|
status | Full device status: RSSI, signal quality, distance, zone, target MAC, battery voltage, uptime |
rssi | Current RSSI of tracked device |
mac | Target device MAC address |
bat | Battery voltage and percentage |
temp | Temperature (SHT3xD) |
hum | Humidity (SHT3xD) |
pressure | Barometric pressure (QMP6988) |
env | All environmental readings at once |
time | Current device time |
loc | Location / zone information |
wifi | WiFi connection status and signal |
port | Web server port |
sound on/off | Toggle event buzzer sounds |
deghost | Run e-ink display deghosting cycle |
restart | Reboot the device |
help | List all available commands |
The Flutter app auto-pings the NUS console every 30 seconds to maintain the BLE connection and parses structured responses into the UI. You can also type arbitrary commands in the app’s NUS terminal tab — useful for debugging signal issues without pulling out a laptop.
Eink display driver
Early M5Stack CoreInk units ship with a GDEW0154M09 e-ink panel (JD79653A controller) that is not supported by the standard ESPHome waveshare_epaper component. BLE.KZ includes a custom ESPHome component — a full SPI driver with hardware-specific initialization, five LUT tables (VCOM, WW, BW, WB, BB) ported from LovyanGFX, and differential partial refresh that skips unchanged screen regions.
Key display parameters: 200×200 pixels, hardware SPI at 4 MHz, VDH=11V/VDL=-11V power rails, PLL at 50 Hz, CDI=0x97. The driver includes a deghosting sequence (full black then white fill) accessible through the NUS deghost command — e-ink panels develop ghost images over time, and periodic deghosting keeps the display crisp.
Newer CoreInk revisions use the GDEY0154D67 panel, which works with the stock waveshare_epaper component. The custom driver is only needed for older units, but the codebase detects and handles both variants.
Flutter Companion App: Seven Communication Channels
The companion app — 3,400 lines of Dart across 35 files — connects to the ESP32 BLE presence tracker nodes through every available channel simultaneously:
- SSE (Server-Sent Events) — real-time sensor streaming from ESPHome’s native web server, with auto-reconnect using exponential backoff from 1 to 30 seconds
- HTTP REST — device control: toggling switches, adjusting numeric parameters, pressing buttons, changing text inputs
- MQTT — publish/subscribe messaging with automatic topic parsing for
coreink-presence/#hierarchies - BLE Passive Scan — background discovery of all BLE devices in range, sorted by signal strength
- BLE GATT — direct sensor reads from CoreInk (battery, temperature, humidity, pressure) with auto-reconnect and exponential backoff from 2 to 30 seconds
- NUS Console — interactive BLE command channel with auto-ping keepalive
- mDNS Discovery — automatic device detection via
_esphomelib._tcpservice type, so you never have to type an IP address
On Android, the app can also act as a BLE iBeacon transmitter through a native platform channel, turning the phone itself into a trackable beacon. This is useful for tracking personal presence without a dedicated hardware beacon.
Five Screens
- Home — dashboard with two device cards showing connection status, presence zone, distance, battery, and temperature at a glance
- BLE-Node — three panels: tracked device status (zone, signal quality, distance, advertisement count), beacon configuration (8 sliders for UUID, major, minor, TX power, interval, name), and system info (uptime, heap usage, LED control, restart)
- CoreInk — four tabs: BLE radio data, presence tracking (zone assignment, configuration sliders, switches), environment (temperature/humidity/pressure cards with battery bar), and NUS console (quick-command buttons, scrollable log, text input)
- BLE Scanner — live list of all detected BLE devices sorted by RSSI, with color-coded type badges
- Settings — IP configuration, tracked MAC address, MQTT credentials, mDNS toggle, device assignment, and a debug log viewer
Navigation uses GoRouter with a 5-tab bottom bar. State management is Riverpod throughout — eight providers handle SSE streams, REST calls, MQTT connections, BLE GATT, NUS console, device configuration, connection status monitoring, and sighting history storage.
Hardware: What You Need
The minimal ESP32 BLE presence tracker setup — a single beacon node — requires one ESP32-S3-DevKitC-1 and a USB cable. The full setup with presence tracking adds an M5Stack CoreInk with its built-in sensors.
| Component | Role | Approximate Cost |
|---|---|---|
| ESP32-S3-DevKitC-1 N16R8 | BLE beacon node (16 MB flash, 8 MB PSRAM) | ~$12 |
| M5Stack CoreInk | Presence tracker with e-ink display, SHT3xD, QMP6988, battery, buzzer | ~$35 |
| USB-C cable | Flashing and power | ~$3 |
Total cost for a one-room ESP32 BLE presence tracker: under $50. For comparison, commercial BLE presence sensors from Everything Presence or Aqara start at $40 per sensor and require their cloud ecosystems or at minimum a Zigbee coordinator.
Three Deployment Configurations
1. Beacon Only (ble-node-beacon-min.yaml)
Minimal configuration. The ESP32-S3 broadcasts Minew MBM03 + iBeacon frames and runs a WiFi access point. No BLE scanning, no tracking — just a configurable beacon. Use this when you already have an ESPresense or room-assistant network and just need another beacon source.
2. Beacon + Tracker (ble-node-standalone.yaml)
Full BLE node configuration. Broadcasts beacon frames while simultaneously scanning for a target device. Includes a web server with real-time RSSI/distance display, MQTT integration, and all beacon parameters configurable via the web UI. This is the standalone version — it tracks presence without needing the CoreInk or the Flutter app.
3. CoreInk Presence Tracker (coreink-presence.yaml)
The recommended configuration for serious presence tracking. Combines 94% scan duty cycle BLE tracking, BTHome v2 + iBeacon dual beaconing, environmental sensors, NUS console, e-ink display with real-time updates, MQTT integration, and RTTTL buzzer alerts. This is 3,100+ lines of ESPHome YAML — a complete, battle-tested configuration that has been through 18 iterations.
Python CLI Monitor
For headless monitoring or scripting, tools/ble_monitor.py provides a command-line interface that connects to the ESPHome web server via SSE (with REST fallback). It streams sensor data in real time, displays formatted tables of tracked devices, and can be piped into logging or alerting systems. The script is 16 KB of self-contained Python with no dependencies beyond the standard library and requests.
Quick Start: From Zero to Tracking in 15 Minutes
- Request access to the repository and clone it locally
- Copy
secrets.yaml.exampletosecrets.yamland fill in your WiFi credentials, MQTT broker address (optional), and target device MAC - Flash the CoreInk:
esphome run coreink/coreink-presence.yaml - Flash the beacon node:
esphome run ble-node/ble-node-standalone.yaml - Connect to the CoreInk’s WiFi AP or find it on your network via mDNS
- Open the web UI and verify that the target device appears with RSSI readings
- Install the Flutter app:
cd flutter_app && flutter run
The CoreInk will start displaying presence data on its e-ink screen immediately after flashing. The Flutter app discovers nodes via mDNS — no IP addresses to configure. The entire stack runs locally from the first boot.
Home Assistant Integration
Both nodes expose all sensors through ESPHome’s native API, which Home Assistant discovers automatically. The CoreInk’s BTHome v2 beacon frames are also picked up by the BTHome integration without any configuration. MQTT is available as a third integration path for setups that prefer broker-based architectures.
In practice, this means you can build automations like “turn on the hallway lights when the tracked phone enters the Near zone” or “send a notification if the tracked device disappears for more than 5 minutes” entirely within Home Assistant, using the presence zones and distance values that BLE.KZ provides as native sensors.
Security Model
BLE advertising data is plaintext by design — this is how BLE beacons work, and encryption at the advertising layer would break compatibility with every receiver. The GATT server on the beacon node requires password authentication (BeaconSET+ protocol) before accepting configuration changes. The NUS console on the CoreInk uses physical proximity as the access boundary: you need to be within BLE range (~10 meters) to send commands.
All network communication stays on the local network. The web server runs HTTP on LAN — if you need HTTPS, put an nginx reverse proxy in front. No data leaves the local network unless you explicitly configure MQTT to an external broker. OTA firmware updates run over the local network only.
License and Commercial Use
BLE.KZ is released under the PolyForm Noncommercial License 1.0.0. Free for hobby projects, research, education, and personal home automation. Commercial use — selling devices with this firmware, offering it as a service, or integrating it into commercial products — requires a separate license. Contact code@ilia.ae for commercial licensing.
Copyright is documented with SHA-256 hashes and OpenTimestamps blockchain attestation in COPYRIGHT.md.
Frequently Asked Questions
Do I need both devices, or can I start with just one?
You can start with either. The ESP32-S3 beacon node works standalone as a BLE beacon and basic presence tracker with a web UI. The CoreInk works standalone as a presence tracker with an e-ink display. The Flutter app works with either or both. Deploy what you have, add the other later.
How accurate is the distance estimation?
RSSI-based distance estimation is inherently noisy — walls, furniture, human bodies, and even humidity affect signal propagation. In open space at under 5 meters, expect accuracy within 0.5-1 meter. Through walls, accuracy drops to 2-3 meters. The system is best used for zone-based presence (near/far/away) rather than precise positioning. Tune the path loss exponent and measured power for your specific environment.
Does it work with ESPresense?
Yes. The iBeacon frames from both the BLE node and the CoreInk use standard iBeacon format, which ESPresense nodes detect and process. You can run BLE.KZ beacons alongside an existing ESPresense network. The BTHome v2 frames are a bonus for Home Assistant but are ignored by ESPresense.
Can I track multiple devices simultaneously?
The current firmware tracks one target device per node. For multi-device tracking, deploy multiple CoreInk nodes — one per room — and aggregate the data in Home Assistant or through MQTT. The BLE scanner on each node sees all BLE devices in range and reports them to the web UI and Flutter app, but active tracking (with distance/zone calculation) focuses on one configured MAC address.
What is the battery life on the CoreInk?
With 94% BLE scan duty cycle and active WiFi, battery life is measured in hours, not days. The CoreInk is designed for stationary, USB-powered deployment. The battery serves as a UPS for brief power interruptions, not as a primary power source. Battery voltage and percentage are monitored and reported through all channels.
Why ESPHome instead of Arduino or ESP-IDF directly?
ESPHome provides the entire infrastructure — WiFi management, web server, OTA updates, Home Assistant API, MQTT client, sensor framework, display abstraction — out of the box. Writing a BLE beacon on raw ESP-IDF takes a day; writing a BLE beacon with a web UI, OTA, MQTT, Home Assistant integration, and a display driver on raw ESP-IDF takes months. The custom C++ components (beacon emulation, e-ink driver) plug into ESPHome’s component architecture, so they get all the infrastructure for free.
Related Projects
BLE.KZ is part of a broader ecosystem of ESP32 and IoT projects. If you are working with e-ink displays and ESPHome, the M5Paper ESPHome dashboard project covers a similar stack on a larger screen. For addressable LED control with a dedicated hardware controller, see Roshni LED Controller. And if NFC-based access control is on your roadmap, the Aliro ESP32 access controller implements the Aliro standard on the same ESP32-S3 platform.
Source Code and Documentation
The source code is hosted at github.com/ilia-ae/ble.kz. The repository is private — access is granted on request. If you want to explore the codebase, contribute, or evaluate it for a project, reach out and describe your use case.
If you are building a presence-tracking system for a commercial deployment or need a custom integration, get in touch to discuss licensing and technical consulting.
Need a consultation?
If you need professional expertise — book your free 15-minute consultation.